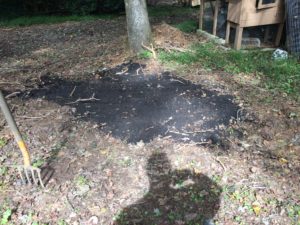
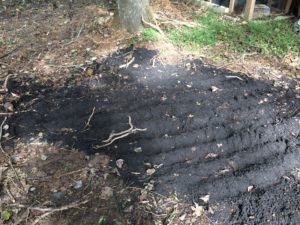
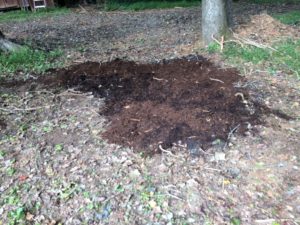
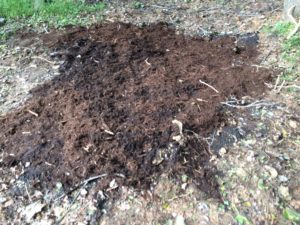
Year One Project Recap

Well, we put in our first year and we learned alot. Here are some of the takeaways:

  • The hydroponic strawberry system actually held up through some of the hottest months of summer with little water loss compared to straight irrigation.
    • I chose everbearing and this was a mistake in this super hot climate, we will try june bearing in 2018
    • The watering cycle was 4 times a day between 10am and 6pm for 15 minutes at a time
    • Maintaining PH balance and PPM with fertilizer was remarkably challenging
      • I believe this means we need a bigger more stable tank, and likely need to add live fish to help keep balanced
      • I will be switching in a 275 gallon tank this year as the primary, and moving the existing 55 Gallon tank to be a mixing and irrigation tank to the top of the stack to try to increase the water quantity sufficiently to make managing the mix easier.
  • The “double dutch dug” bed with tomatoes, mellons, cucumbers and more was somewhat successful.
    • While not in our grand scheme this was more an experiment to see how much additional effort a more traditional “intensive” approach would be. The short answer is substantial. I am going to approach this again this season using “plasticulture” with organic biodegradeable covering to see if this minimizes effort.
  • Our leach fed 5 gallon home depot bucket peppers that kept growing well into the cold season
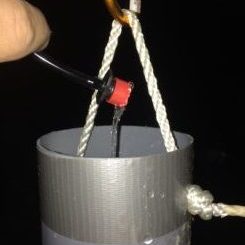
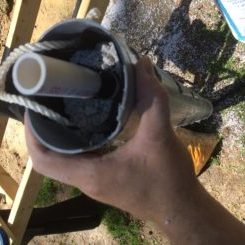
    • These used 2 buckets, one tucked into the other with wicks of cotton line going from the lower water reservoir into the upper soil.
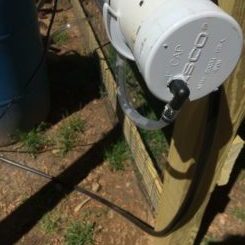
    • I also re-used water bottles with 1/16″ holes drilled in the caps to slowly irrigate from the rains.
    • The plastic has held up well in the Summer Sun, though I think I’m going to paint them this year.
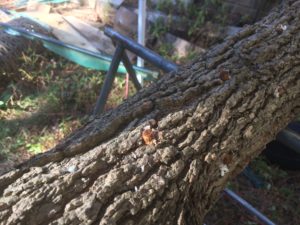
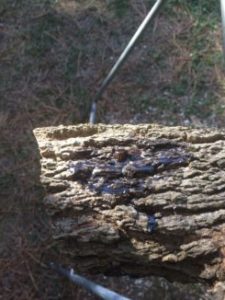
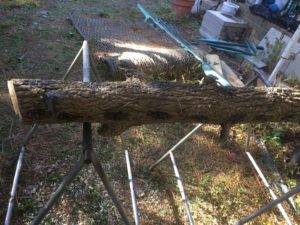
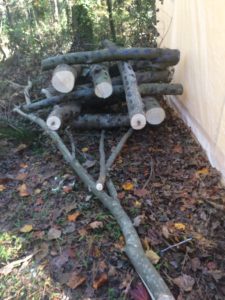
  • Our mushroom logs failed to fruit, and I believe there may be a better way to do mushrooms.
    • I believe the shade was adequate, but moisture may have been too low. I really think I’m going to switch to a coffee ground, sawdust, or recycled cardboard method instead which will be more time consuming, but also more controllable.
  • Our ginseng doesn’t appear to show growth yet… this may be a water issue though
    • This is really uncharted territory and I have yet to identify any way to gather any additional information. I’m thinking maybe I should make small cradles for the seeds which I can control and check for moisture / soil PH and nutrients and quality etc. Right now the process is just not suitably transparent.
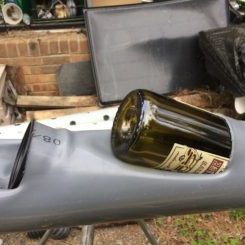
  • We split a large number of 55 gallon drums and used them for Tomoatoes
    • These aren’t really fitting for our system but do work very well. We used organic tomatoes in Engineered soil and I raised drums 12″ off the ground and sealed the ground with landscaping fabric. This substantially reduced the normal powdery mildew rot that I’ve experienced here. In fact many other growers and greenhouses had a pretty bad year but we still kept producing and the crop kept putting out until I stopped irrigation in December. I’ll double down this year on these and increase from 15 to 30 drums.

Thats the wrap up. I will be posting our 2018 Project Plans soon. It has been a great year, not so much for selling produce (though we did make some excellent connections with people interested in purchasing our produce). I hope this recap helped, and if you have any questions feel free to reach out!
Renewable Soils

One of the things that motivates our research is finding soil (substrate for the plants) which is sustainable. There is looming evidence that our topsoil, and thereby the potential to sustainably continue growing food for our growing population, is in significant danger due to the continued destructive fertilization and environmental factors we live with.

Soil additionally can have inbalances of nutrients, undesirable pollutants, high concentrations of salt, and/or contain plant diseases in the soil which makes rotation, close monitoring and management a much more difficult task.

We want to reduce the overhead, not increase it (or even put up with what currently exists).  Every advantage we can leverage to reduce the factors that will add to uncertainty need to be isolated, controlled and eliminated whenever possible.

As such we are experimenting with a number of options to see what provides an affordable alternative to soil might work. We have identified several possible types and are discovering pro’s and cons for each regularly. To properly evaluate them we need some kind of scale that will give us a valid comparison (so we dont get influenced by the hype and marketing). I’m going to use the following scale with the following critieria to get started:

  1. Moisture retention: How well does the media maintain moisture for the plants consumption. Better retention provides longer periods between watering, but could also kill roots if in a constant submerged situation.
  2. PH influencer: The media combining with chemicals / nutrients / water can degrade and alter the PH of the system.
  3. Planting efficiency: Long story short, how hard is it to plant in? Are there sharp corners that could damage roots? Is it heavy and unwieldy? Does it require alot of of maintainance?
  4. Reusability:  How hard is it, or can we even reuse the same media year on year. Can we use it in the same place or does it require rotation?
  5. Effect on host systems:  Various media can have small fibers which could clog filters, or small granules, or diminish like dirt and spread out.
  6. Cost

Lets talk about a few:

  • Coco Coir:
    • Description: One of the more popular in hydro/aquaponic systems are the coconut derived medias. They also seem to be some of the top growers.
    • Moisture retention: The coconut derivatives appear to provide excellent moisture retention.
    • PH impact: It appears this is negligible.
    • Planting efficiency: This is likely one of the most “natural” feeling medias. It is very similar to soil.
    • Reuse: I don’t think they will be quite as reusable as the other media types, but I could be wrong. This will be determined more clearly when I try to boil and sanitize the media later this year. It may also be difficult to remove leftover organics.
    • Effect on host systems: Use in net pots with drip systems it will likely not be a significant problem. Especially for the benefits you derive.
    • Cost: It doesn’t appear very expensive. It seemed quite costly at first, but once I realized the bricks expand into large quantities or material. This will likely be the basis for dutch bucket attempts next year.
  • HDPE foam:
    • Description: Used frequently in Tower systems, I have also seen “pool noodles” as a cheap alternative. This is a standard filling type for commercial square style towers.
    • Moisture Retention: It provides an excellent means of water flow with some retention, and roots happily dig in.
    • PH Impact: There is a negligible PH effect.
    • Planting efficiency: Relatively simple but specific to towers or cup sizes. Tower foams are generally 2 piece or folded so you just spread and place your roots. Cup versions require cutting and folding to pinch the roots.
    • Reuse: Reuse may be difficult due to it being one large piece and therefore hard to scrub all the nooks clean. If it was protected from the start it might be ok (in a greenhouse with controlled circumstances).
    • Effect on host systems: Being plastic some people have issues with its potential effects on the water and leeching into the foods. I have read several articles saying this is minimal to non-existent and not a real concern… more just people that dont like plastic. Planting is relatively simply as you can cut or fold the material to insert roots.  The effect on the total system might be a little less desirable if it retains organics.
    • Cost: Pricing can be very expensive to minimal depending on your approach. Pool noodles out of season are cheap but are better for collars than a constant drip system. Foam (like gutter guard material) would end up costing 8-12 dollars per tower which can get expensive pretty quickly. But in the grand scheme, for something that will be used over many seasons it could be considered good deal.
  • Perlite:
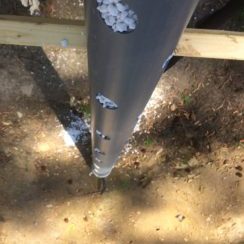
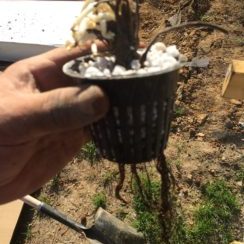
    • Description: An expanded stone product which is lite like popcorn. Even though it is stone, it actually floats in water.
    • Moisture Retention: It has many miniscule ridges and provides excellent water retention, so is very suitable for methods that should clear out.
    • PH Impact: It appears to have zero PH impact.
    • Planting efficiency: I used the large grain horticultural variety. It was very easy to work with, with the exception that it is so light. I am going to build a system similar to a trains water tower to make it simpler to load towers and buckets without spilling quite so much for next year.
    • Reuse: Gardeners frequently mix it into their beds to increase moisture retention. It is often a substitute for Peat Moss but never needs to be replaced (since its stone… it doesnt degrade).1 bag did all the net cups for our 200 tower cups and had some left over.
    • Effect on host systems: I went with large granule and still had some issues where it would clog the return lines. I found a simple mesh filter added to each tower fixed the problem, but its still extra effort.
    • Cost: It comes in large or small size bags and buying in bulk drops the price to only around $18 for 3-4 cubic feet.
  • Hydroton:
    • Description: A bit heavier than Perlite and much larger, hard clay balls the size of smallish marbles. I had read that it was a good cover for Perlite to keep it from blowing away, and this seems to be true. But its the same basic idea as Perlite.
    • Moisture Retention: Excellent, as each “marble” has lots of little ridges and grooves to trap and hold water.
    • PH Impact: It should provide no or at least negligible PH impact.
    • Planting efficiency:  Planting is a little less natural since the chunks (while round, so no edges) are much larger.
    • Reuse: This should have the same benefits as Perlite. Its Clay, but I am going to try putting it into a boiling water bath to sanitize. I believe I’ll need to add a microscope to the project to determine the length of time before living things are cleared out.
    • Effect on host systems: Hydroton would be a wonderful medium if it wasn’t quite so expensive. But you do have to factor in that it is infintely reusable (or at least appears to be).
    • Cost: It also was substantially more expensive than Perlite but seems to be the golden standard if you are going to buy into a full on name brand style hydroponics setup.
  • Stone:
    • Description: There are a number of kinds of suitable stones for hydro  / aquaponics. There are brick chips, granite, river pebbles, and all are relatively reasonable and easily available at any home improvement store.
    • Moisture Retention: Varies, depends on the stone you use, but anything near natural is likely going to have alot of ridges and valleys that will retain a reasonable amount of moisture.
    • PH Impact: Stone is the most likely to significantly alter your PH unintentionally. You can perform tests using baking soda or vinegar to help determine if its acidic or a heavy base and might impact your environment heavily. This is of extra high concern when it comes to Aquaponic systems that include living critters.
    • Planting efficiency: Stone is the most likely to have sharp edges, degrade and require substantial startup maintainance to get it cleaned up and usable. The likelyhood of damaging plant roots is a strong possibility. Its also the heaviest of the mediums and just a few bags can really take its toll when constantly lifting and moving.
    • Reuse: Stone should be mostly cleansable and reusable leveraging the same boiling technique.
    • Effect on host systems: Stone can influence PH and can put a high level of stone dust in the water that could impact other parts of the system from pumps to filters.
    • Cost: Stone is one of the cheapest alternatives. Many times you can buy in bulk from landscaping quarries, or just on sale for several bags at the home improvement center.

Reuse techniques. I am focusing my research primarily on reusable media. But I need to establish a means of sanitizing. The first I am going to try is a boiling water bath. 55 gallon steel drum over a fire until boiling. We need to establish if this clears all the potential disease for the following season. Some of the media will likely not take well to this approach including the HDPE foams. They may either melt, or the roots and left over organics will not scrub out like we can with the loose perlite in the bath.

These various media types are in use in several forms throughout our experiments. I would like to see Potatoes, Tomatoes, and filled towers using the various methods. I am fairly confident the Perlite has performed adequately for what I’m trying to achieve in our net cups and that we will be sticking with it for those methods. The others are worth evaluating and we should have more information as the years (this year / next year) really allow us to get solid results.


Strawberry Towers Overview

This is one of our bigger projects this year. I have been watching plant towers for more than a year and researching various designs. There is no way of knowing what works and what doesn’t… let alone all the nuances until you implement it yourself though (or at least thats been my experience).

This experiment is intended to determine out of the designs, which is best from a growth, watering, planting, and sustainability perspective. We have learned alot so far, and there is no way I’m going to fit it all into one post so I’m breaking this up into several parts including:

  1. Tower construction and types
  2. Media types and ways to plant
  3. Water type, containers, connections, consumption and fertilization
  4. What would I do differently next time?

So this is just going to be an overview of the process so far, and some cool pictures of how its coming along! I have to say I was really surprised to see some plants that looked dead as could be come back to life and start thriving in our towers!

Lets start with the goals we are trying to accomplish with the strawberry towers :

  1. Increase the square footage we have to grow in a otherwise small area.
  2. Provide the ability to change the elevation of plants to better capture sunlight
  3. Create a backdrop which will allow us to attach a mylar surface for adding more light to the rest of the garden
  4. Make it simpler to harvest the berrys
  5. Leverage gravity for our watering

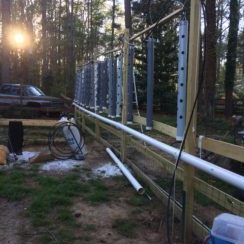
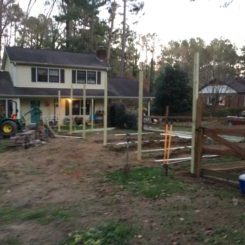
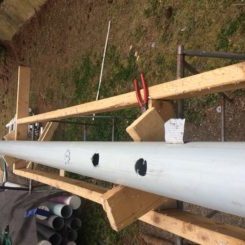
We started  by creating a structure using 4x4x12′ beams. Each one is buried 2′ in the ground, and attached between each other with 1x6x10′ boards (to keep the critters out of our garden). This provides us the ability to raise the towers up to 10′ in the air which met our goal of raising the garden vertically. This lets us hang 60 4″ PVC towers in a 50′ space (roughly every 8 inches).  The max the current towers can handle is around 12 plants, although I have some experimental ideas for doubling that. Which means in short, right now we are capable of handling 720 plants in our 1’x50′ space. Not too bad for density. Doubling it would be over 1400 plants for every 50′.

The tower wall cannot be considered for the entire garden since it naturally creates a substantial shadow (which we might end up leveraging for shitake mushroom logs and maybe a nice workbench). But it makes an excellent border. Further, if you paint the towers white (or get white PVC) then the reflection will add a nice additional source of light from the opposite side for any plants in the normal part of the garden.

We started the system with 25 towers currently in production  all fed by a single 55 gallon foodsafe drum. I ended up utilizing a very inexpensive DC pump that is capable of 10L/min to 16ft height. The system pumps water from the lower East end to the upper West end. This ensures that the tank is never dry as gravity feeds the water back to the barrel through the return lines.

I chose the DC pump as I want to make the system 100% solar driven as well. We just aren’t quite there yet. Right now its rigged using a simple mechanical wall timer into a universal power supply that provides 2.5 amps at 12 Volts. It took me awhile to get the towers to the point they weren’t leaking everywhere and getting the nozzles properly dialed in, but we are there now. I generally consume around 2-4 gallons of water per day for the whole system.

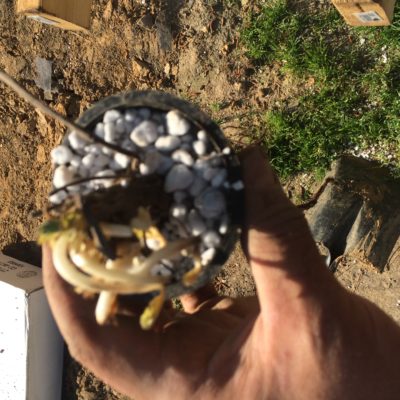
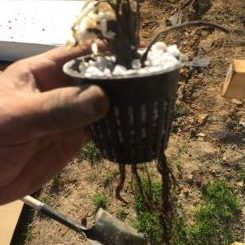
We ordered “bare roots” plants from a Nursery in Michigan. These were everbearing and this also may have been a mistake but there is only one way to find out! Unfortunately, I ordered them well before the towers were done with the intention of giving myself a deadline… which was a great idea… but it actually took an additional week before I could start getting the strawberries in… and then took an additional chunk of time learning how to best plant the roots. So the first 50 took almost an entire day. Then it went much more quickly, but I still only salvaged a little over 100 plants out of the initial 200. On the other hand, now I have a pretty solid understanding of planting these little guys and the system is all in place, so next year it should be running at full capacity. I would also like to experiment with several different strawberry varieties to see which ones perform the best. So just to keep it simple I think we will likely double our capacity next year to 400 plants with 100 each from several varieties.

Thats the gist so far though. We have had substantial new growth from the plants, many coming back to life from what looked to be quite dead plants. I will be going into much greater detail in the posts to come, as well as covering how the crop is growing. I also plan to utilize the rest of the unused spots for other kinds of crops including various lettuces to see how they do. Stay tuned!

Mushroom logs cut and plugged

I have been researching how to grow mushrooms for over a year now since I first heard about it in early 2015. I had the opportunity to go to the mushroom growing talk at Bonnaroo 2016.

img_0271

Growing mushrooms consists of a few basic steps:

  1. Acquire mycelium culture
  2. Prepare a substrate… which can be cardboard, sawdust, coffee grounds, or hardwood. The preparation
  3. Keep shaded, in appropriate humidity and away from invasive organisms that would harm, alter, or destroy the mycelium as it grows
  4. Wait.

I’ve investigated a number of strains and methods and settled on what seems to be the simplest to get started using hardwood logs and a hardy strain of oyster mushrooms. It also requires the most patience as it takes over a year to see a result.

Looking at the math of what others were projecting I hope to see up to 10lbs per log per year, maybe more if I’m lucky. The logs should fruit for several years. But these are still unknowns, so stay tuned to learn as we do!

Preparing the logs depends on a few things.

  1. Getting the mycelium and letting it sit indoors to rebound from the potential strain of travel. The recommended amount of time was at least 1 week from the provider I chose.
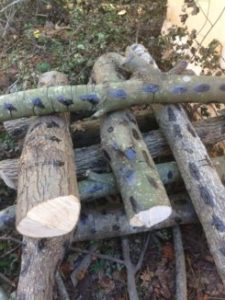
  2. Cutting the trees. Depending on the type of tree there is a different amount of time to let the wood sit so the natural fungicide inside the tree has a chance to die off. I have a yard full of maple and gumball trees, which apparently need to sit about a week before inoculation.
  3. The trees should be left whole (on the ground, or elevated on blocks) until you are ready to plug. This prevents other species from gaining a foothold while you are waiting to inoculate with your strain of mycelium.
  4. The trees should be cut into logs between 4-8 inches in diameter, and drilled every 4″ in an offset pattern for every ring around the log you do.
  5. Handling the plugs requires using gloves and alcohol to prevent injecting unwanted bacteria to the plug.
  6. Once you have plugged you need to wax the plugs so they have the best chance at colonizing the logs without external interference.

In a nutshell, that is the process we followed. Though while dropping the trees my wife thought it was less funny than I did when I explained there would likely be running involved in the process.

One quick note: Chainsaws are extremely dangerous. I have had them kick back on me and am very careful to keep a straight arm, wear a hard hat, gloves, and proper eye cover when using to avoid any accidents. These things are meant to cut through wood like butter… you can imagine what they would do to skin and bone. If you plan to cut your own logs please use every possible precaution… there is very little that is worth your limbs or life.

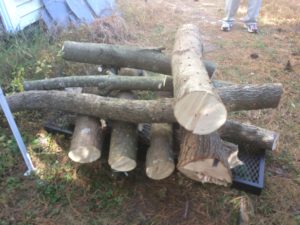
We cut the logs into 4 foot sections. Each one between 4 and 9 inches. I was surprised at the amount of trees we ended up needing to get the log count I was after. Originally, I had hoped to inoculate 14 logs, but we ended up with 11… partly because we didn’t have as much usable wood as I thought there would be, and partly because some of the plugs we were sent were moldy! More on that later…

img_0260

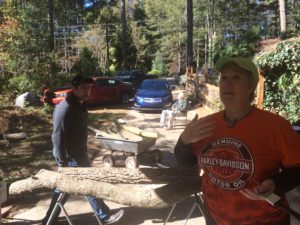
I went ahead and cut all the logs first instead of trying to mix the cutting, plugging, and waxing. It just seems like it would be exceptionally difficult to combine these tasks with any measure of efficiency. Perhaps if you had a 4 or more person team in a kind of assembly line. But as it was just my wife and myself (with some help in the morning cutting trees from our friend Chris!) we needed to make it more of an orderly process.

img_0258

Another thing to note… each log requires approx 40-50 plugs. So a stack of 11 logs is going to require 450-600 plugs. (we used what few leftover plugs we had to plug one of the tree stumps to see how that does. I would have liked to do all three stumps, but 2 of my plug bags were moldy.)

My point is… make sure you have a really nice drill, and several bits in case you break 1 or more. We had 2, a makita 18v and dewalt 18v and several spare batteries which did the trick. I also picked up a corded hammer drill from harbor freight as a backup. The stack of 11 logs and stump wore out every battery I had.

img_0263

Once the holes are drilled I put on the gloves, and coated the mallet, and gloves in alcohol so they would be free of contamination. We quickly adopted the process of my wife drilling the holes and me following behind with the plugs and popping them in the holes. This took a surprising amount of time. Cutting the trees into logs only took a couple hours, the drilling and plugging took most of the afternoon.

img_0268img_0266

The next step was to wax all the holes. We used a hotplate which had a temperature dial we could program to keep from getting the wax too hot. The plate worked surprisingly well. We used a cheap brush I picked up from harbor freight to dip in the wax with the assumption we would never be able to use it again.


Once the logs were stacked I put them in a shady spot behind my tractor garage and covered the stack with 85% shade cloth because its going to get below freezing soon, and the shade cloth will act as a blanket to keep the stack warm while the mycelium has a chance to colonize the logs.

img_0270

Now we wait! One more project down!


Planting Ginseng

This is my first experiment with Ginseng. Honestly I have no idea if we will be able to grow here in Apex, but seeds aren’t terribly expensive, the soil is similar enough to the mountains, and the weather has been cool and wet as of late… plus I have a few nice shady spots in the trees out back so I decided it was worth a try.

Of all the reading I’ve done on Ginseng there are a few common rules:

  1. Put it on a North / North-east slope so it doesn’t get much sun
  2. Make sure it is under trees or shade cloth to further that effect
  3. Plant in the Fall so the cold helps to activate it
  4. It likes cover and mulch

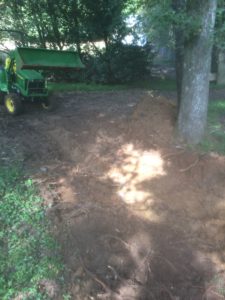
These conditions seem pretty simple to fulfill, the only thing left was to take my north slope and change it from clay to decently loamy soil. So I started by pulling out the tractor and lowering the tines on the box blade to their lowest setting. Then I made a few passes down the hill to pull the big roots and get the clay broken up.

img_0140


I used the loader to pull up about 12-18″ deep of clay in a 5′ strip and put it in a pile to be reconditioned. I then worked the bottom of the trench with a pitch fork to break it up even deeper and let the amended soil seep deeper as well.


img_0144 img_0145

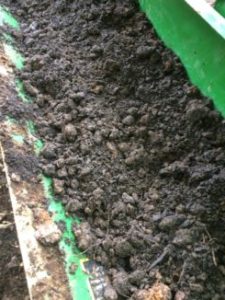
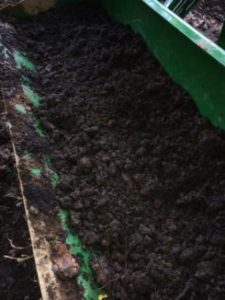
The reconditioning process would be very tricky to do with a wheel barrel. I used the load to pick up about half a bucket at a time. Then I used the bucket to add peat moss, cow compost, and top soil to the clay to make the mixture much more loamy.

With each addition I would mix in with a shovel and pitch fork the additive to the clay and continue breaking it up.

Just like cooking, the additives generally would stick to the clay and allow it to break up even more with every turn. After the three amendment processes the soil was very loose and a nice mixture of water retaining peat moss, nutrient rich compost, and sandy topsoil with the original clay. This left me with a full bucket at the end of the amendments.

It took several buckets to fill in the 10 foot by 5 foot trench I had dug.

img_0148


By the end of the process I had a beautiful … more or less “Bastard” dug trench, which despite the lack of direct sunshine should be a happy haven for plants. My pitchfork would sink up to the base of the tines with minimal effort, compared to the 2″ it would sink in the soil (clay) originally.


What I realized though was that since this was on a hill, and I’ve already experienced a non level trenched bed all running together, was that I needed some kind of leveled support. So I took 1×6’s and pushed them into the trench horizontally to provide tiers. This was an experiment, but it seemed like it would wash out to a level for each tier, and I thought it was worth a try.

img_0162 img_0163  img_0166


Then came Hurricane Matthew.

img_0172

Well, if you want to test a theory, there is nothing like throwing the worst possible conditions at it to validate it. Long story short, it worked… kind of. The ground was so saturated I had a makeshift creek literally spring out of the ground in the backyard just a couple feet away from the trench. The trench at its bottom exhibited similar characteristics… and some of the very base washed away. The “tiers” with the boards actually held up pretty well… they did lose a bit of soil, but largely remained intact. So it appears my experiment was a success.

img_0198

Once the ground had a chance to dry out a bit I followed up on the board idea by pushing in a number of 1×4’s along the side of the trench to help prevent tree root encroachment as well, and added about 16 bags of topsoil to the mix to fill in what I had lost. This might dilute my original mixture a good bit since ginseng is planted only a half an inch deep, but I didnt want it to be a puddle in the next hurricane either.


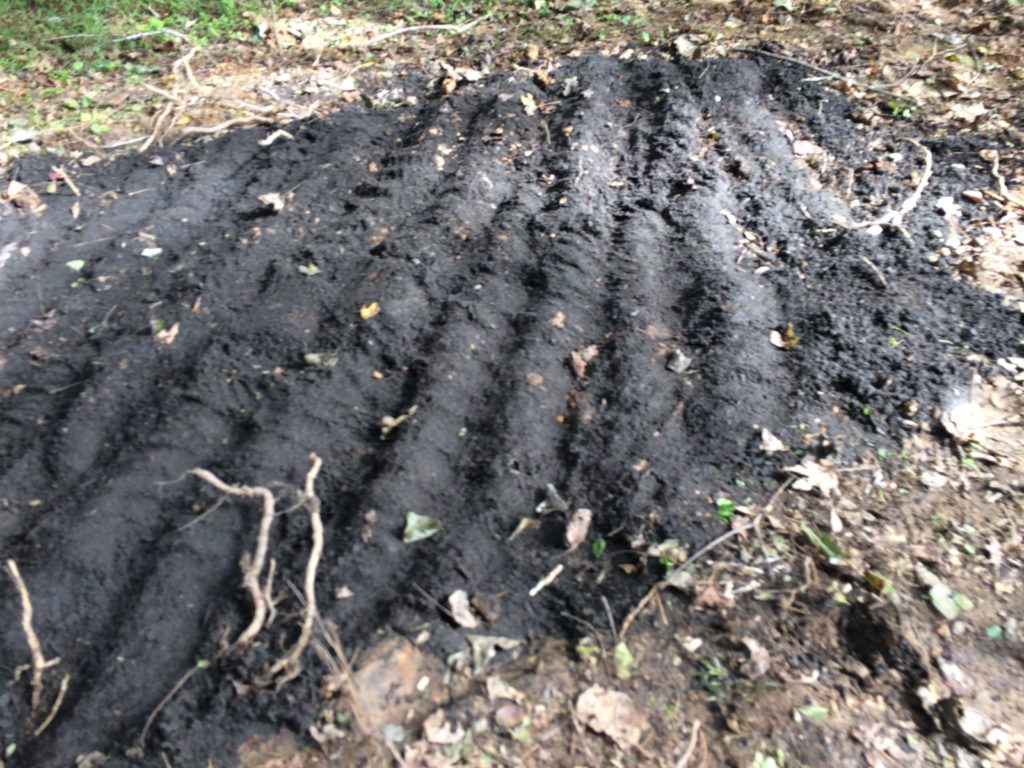
Next I raised rows through the bed horizontal to the hill and planted seeds 1/2 inch deep by 4-6 inches apart and lightly padded them in.

img_0201 img_0200

Last I covered the whole thing with a couple inches of mulch.

img_0203 img_0202img_0204

Now we wait and see… I’ll be trying my best to give them a good watering once a week, which the peat moss and mulch should keep nice and moist throughout the rest of the week and we will see if there is any activity next spring!

Sadly, this is an effort of patience. If all goes well I will end up with a number of little plants which produce seeds… first 1, then 2, then 3 at a time. If this works out I will be taking those seeds and further expanding the hill ginseng patch.

There isn’t alot here, its a small patch of 200 seeds, of which any number might fail… so its not going to be much money and will likely take 10 years to be ready to harvest. But this isn’t so much an effort to make money on the ginseng as it is to learn about the plant and see if we can get it to grow here.